I can’t tell you how many times I have heard someone say they were going to create a patting machine for their baby’s back throughout the night. Or how many times I have heard my husband say he was going to cut off his hand and leave it on our kid’s back through the night, because it is the only way they will stay asleep! Something about the warmth, comfort, and weight of a parents hand on a child’s back gives the security a child needs to keep sleeping.
Without cutting off your hand, there may be something you can do! Weighted blankets have been proven effective for people with autism, anxiety, and sleep troubles in general (adults and children.) They offer the consistent secure pressure and warmth needed by many who struggle to get a good night’s sleep.
Special Features of My Design
- Adjustable as child grows – designed so that weight and size can be increased as child grows.
- Increased Width, Decreased Length – blanket is wide so that child who rolls will stay covered. Also shorter, primarily covering midsection so as to be used through all seasons on top of sheets/covers.
- Natural – rice is used, which can be mixed with dried lavender or chamomile.
- Weight – Occupational therapists recommend weighted blankets be 10% of child’s body weight plus 1-2 pounds. The weight I use in this instructional is 5 1/2 pounds and fit for a 35-40 pound child.
What You Need
- Two pieces of 36 x 45 ft flannel fabric
- Chalk and Yardstick
- 5 1/2 pounds Rice (Substitute plastic beads for washable blanket)
- Dried lavender or chamomile – optional
- Three 1 inch buttons
- Three pieces of 2 mm round elastic cord (2 in each)
STEP 1: Preparing the Fabrics for Blanket
Pre-wash fabric. My fabric shrunk by about 2-3 inches.
You should have two pieces of 36 x 42 ft fabric after washing and drying.
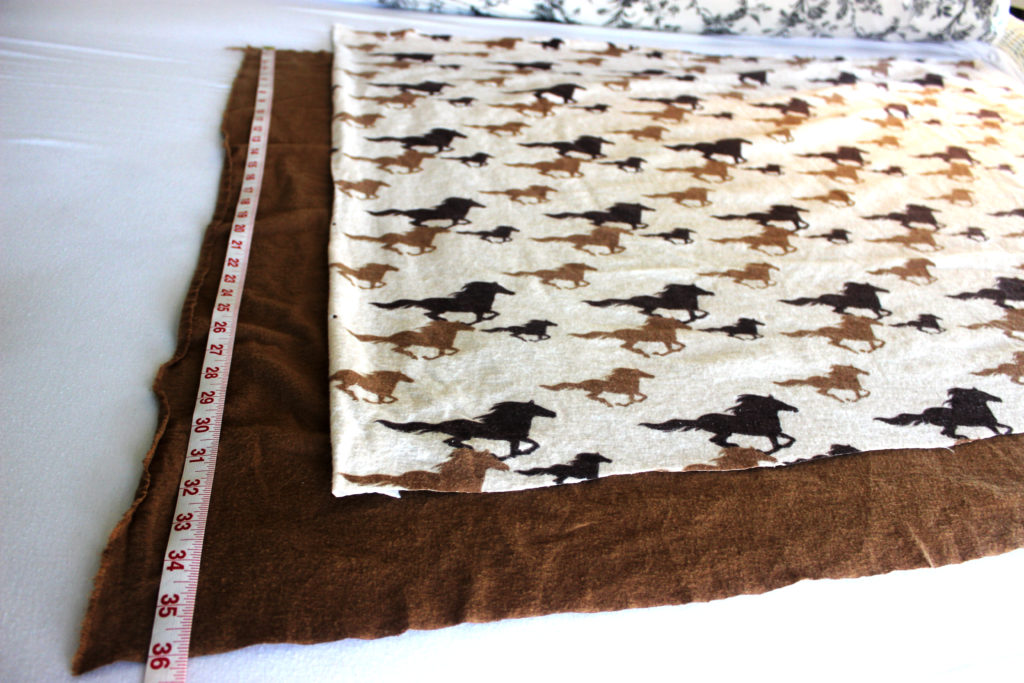
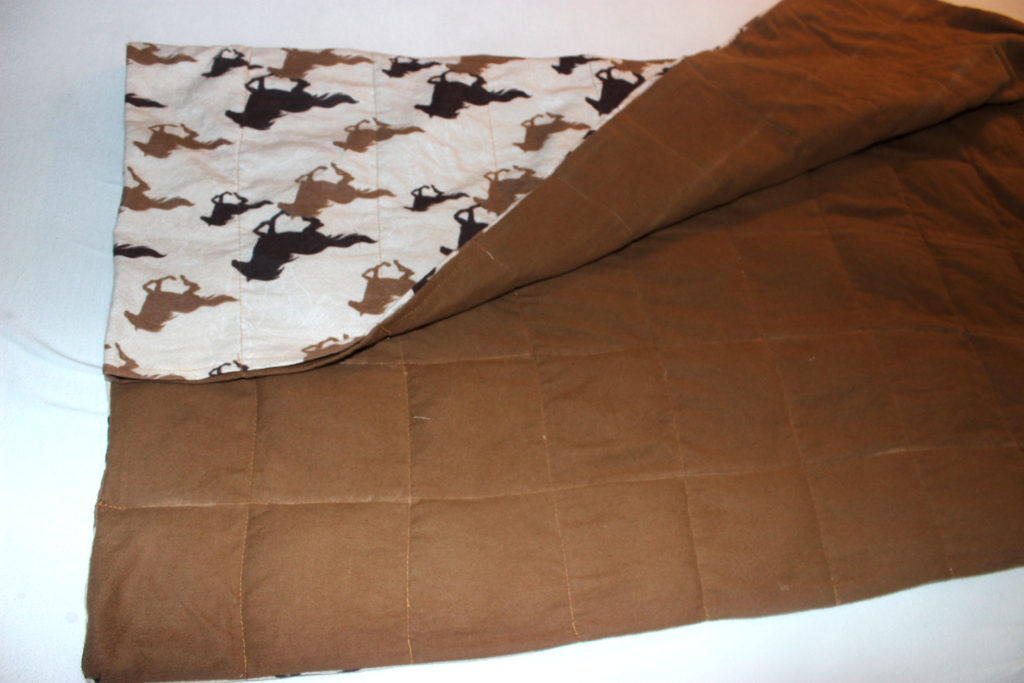
STEP 2: Pinning Patterns Together
Match the pattern or print of the fabrics together, so that the underside of the fabric is showing and pin together along the two sides and the bottom. The top will remain open. (I have matched a horse print and a solid brown)
STEP 3: Sewing a Double Seam
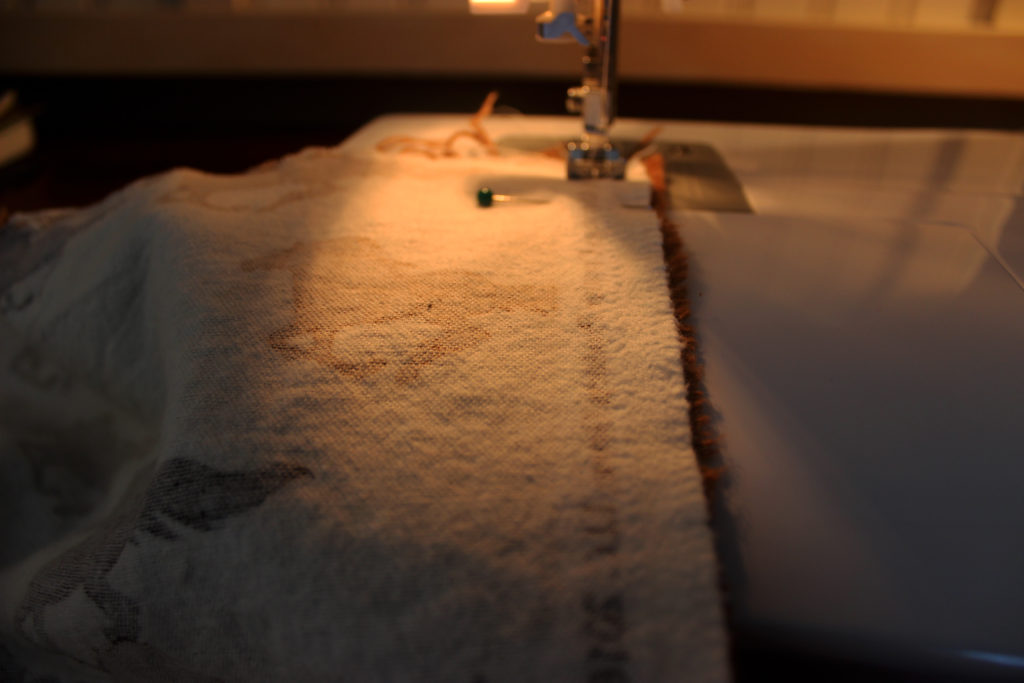
For added strength, I sewed a double seam around the two sides and bottom of the blanket.
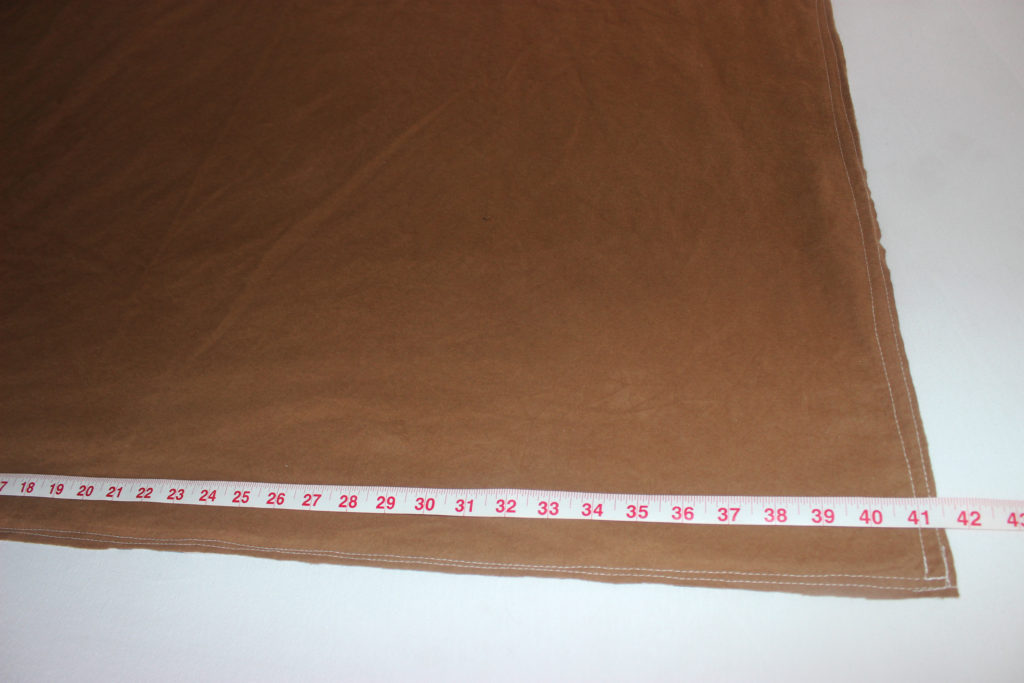
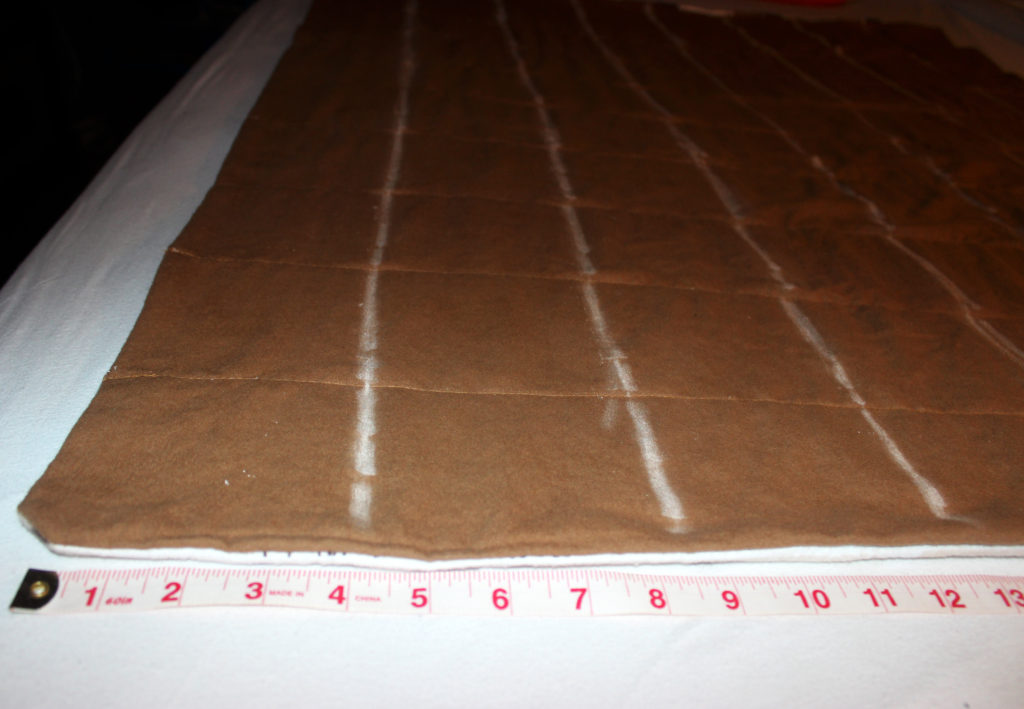
You can see that after the fabric shrinking and the seam, I am down to about 41 ft on the width of the blanket.
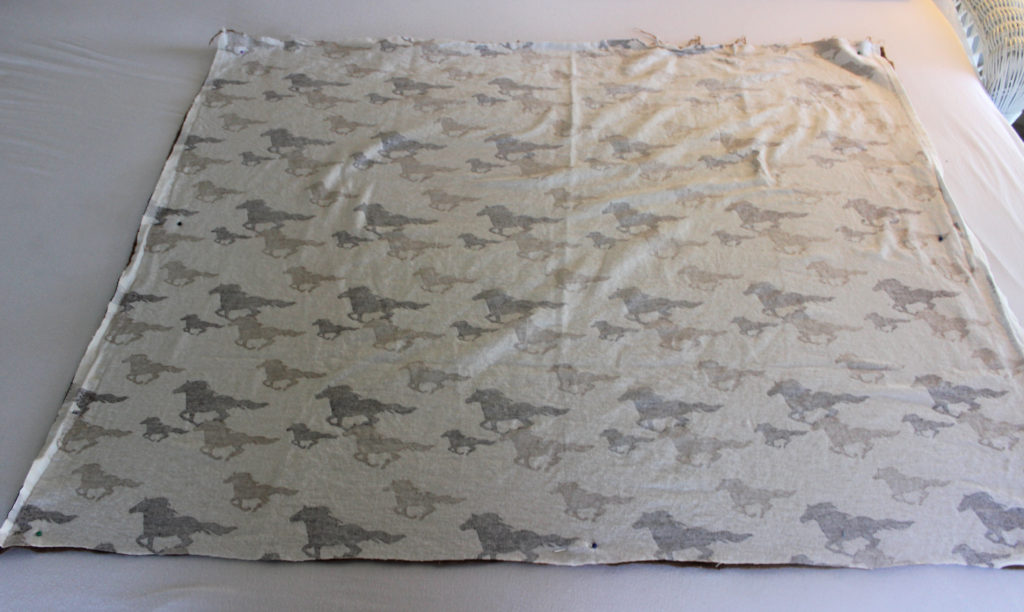
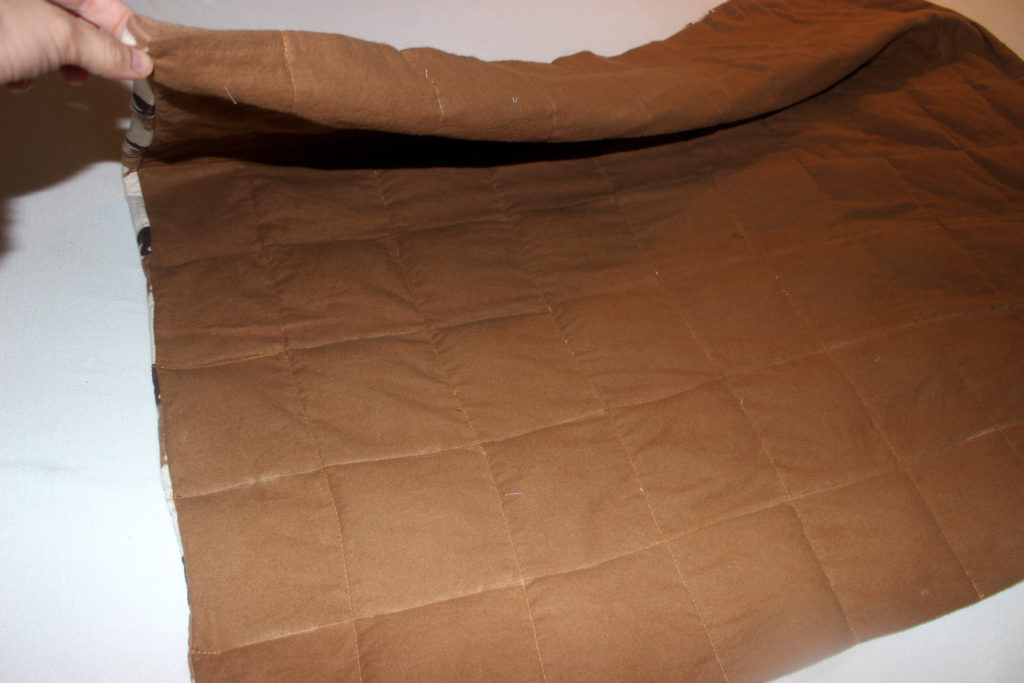
STEP 4: Flip and Sew Top Hem
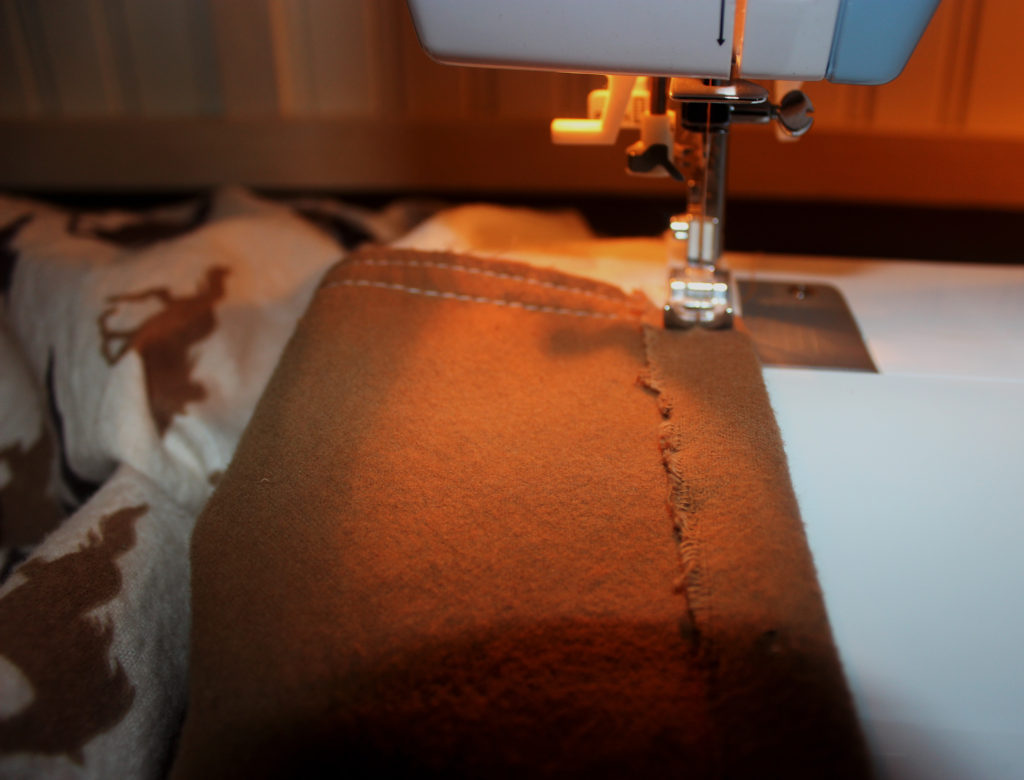
Flip your fabric, so the patterned sides are now on the outside as they should be, and the seams are hidden on the inside.
The top edge is now the only raw edge. Turn the top edge of the fabric in, so that it will not be showing and sew a hem. (Notice the seams and hems are all together on the same side)
STEP 5: Measure, Chalk, and Sew Columns
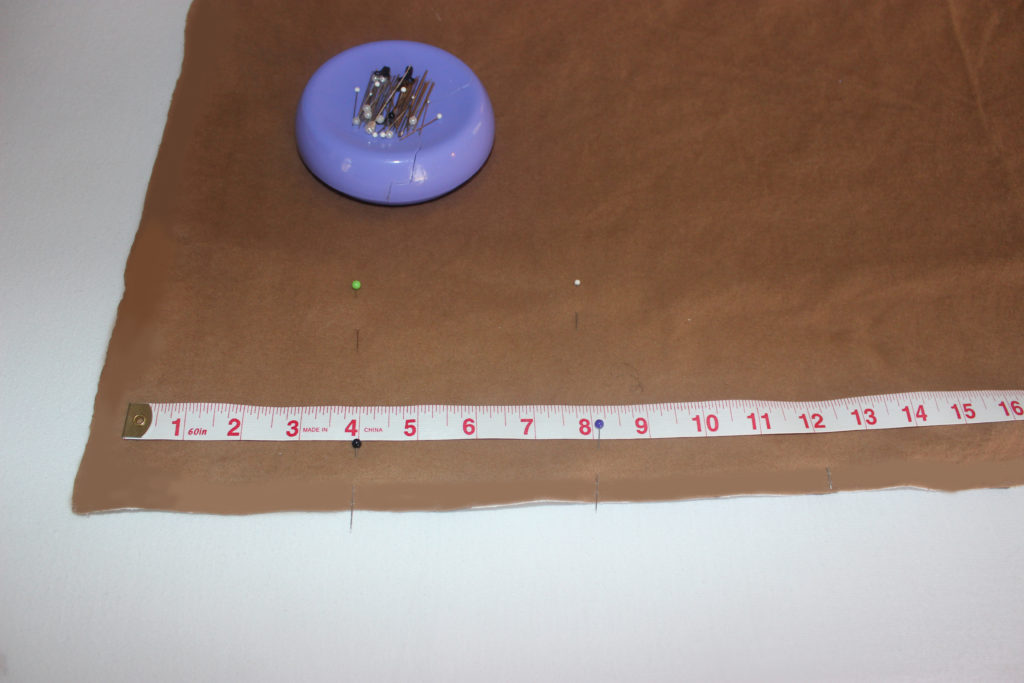
Place a pin every 4 in (I started from seam) across the bottom of the blanket.
Using chalk and a yardstick, draw coordinating vertical lines 4 in apart.
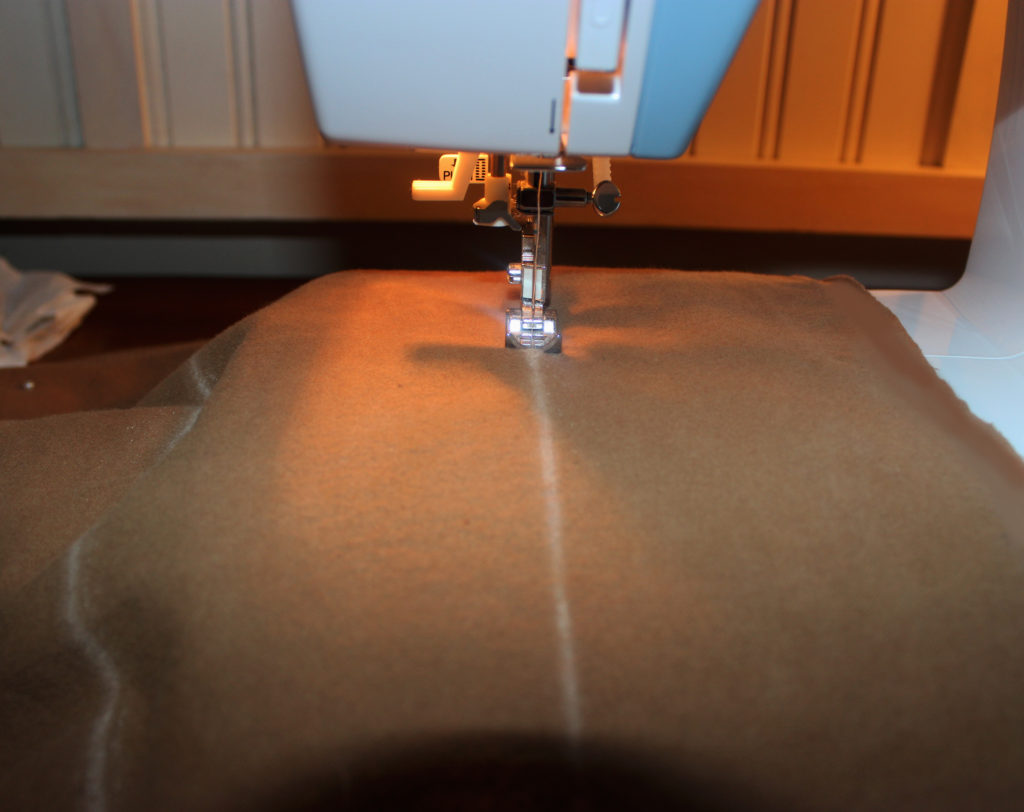
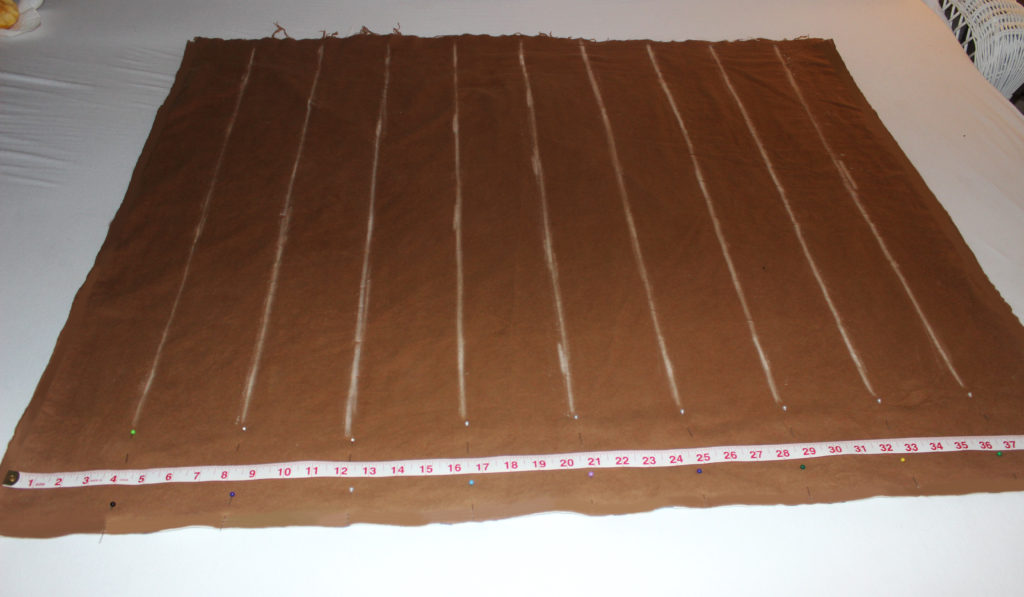
Sew a seam on each of the chalk lines, attaching the two fabrics together by columns.
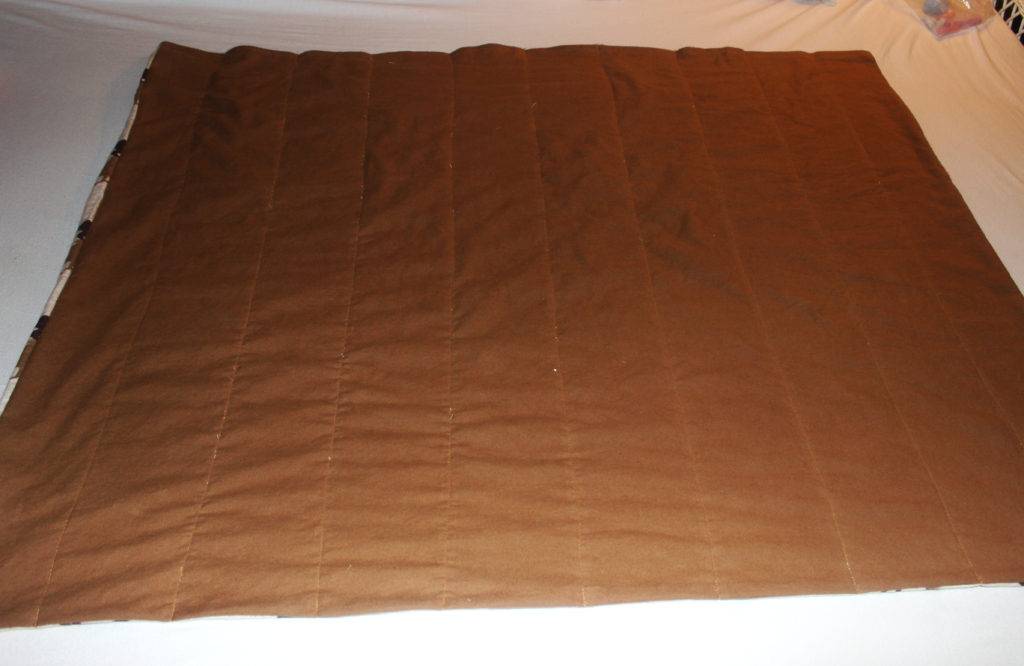
Here is the blanket after vertical columns have been sewn.
STEP 6: Measure and Chalk Squares
Just as was done with the vertical columns, measure 4 in apart on the sides of the blanket and chalk horizontal lines, creating squares.
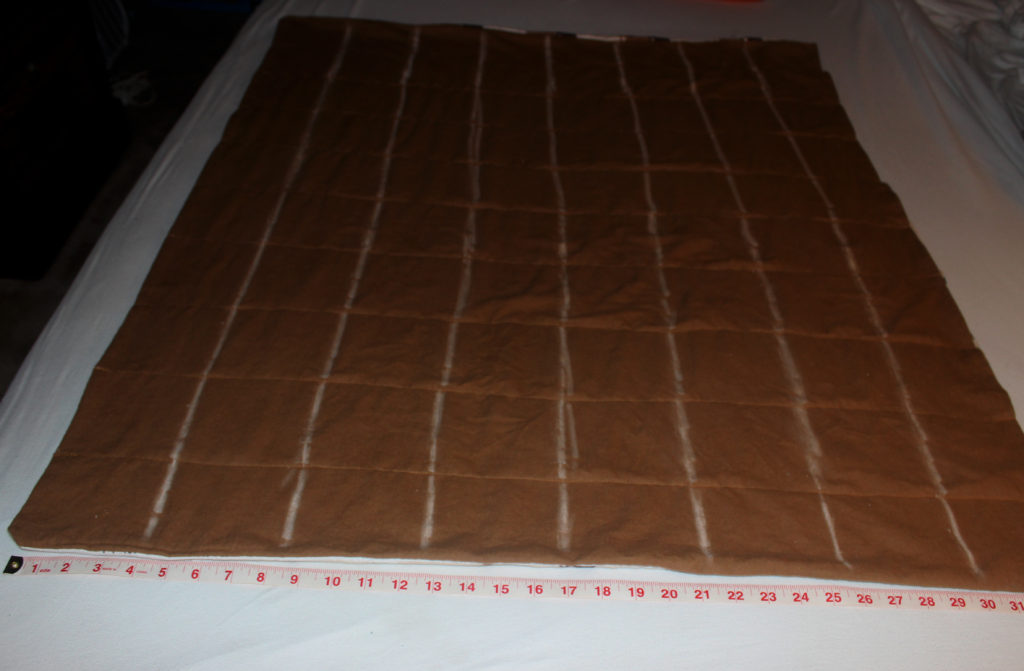
My blanket is now marked with rows of 10 squares horizontally, and 8 squares vertically.
STEP 7: Adding Rice
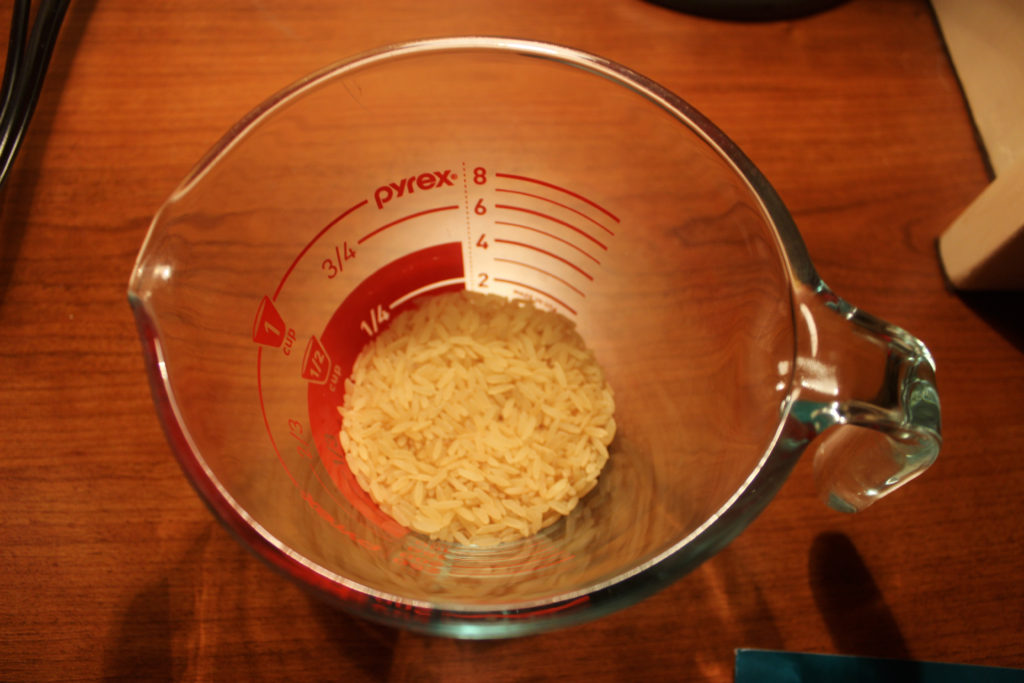
Measure 1/4 cup of rice. (Mix with lavender or chamomile if desired.)
Pour 1/4 cup rice into each of the 10 vertical columns, holding the blanket up to work the rice to the bottom of the blanket.
STEP 8: Sewing Squares Filled with Rice

Now that the bottom row of the blanket is filled with a 1/4 cup of rice in each section, the first horizontal column must be sewn to seal the rice in.
Follow the first chalked line, being careful not to shift the rice out of its designated square as you sew.
STEP 9: Repeat until Designated Weight

Once the bottom row is sewn, fill the next row with rice and sew.
Continue this until reaching designated weight. I filled 5 rows with rice, equaling about 5 1/2 pounds of weight for a 35-40 pound child.
STEP 10: Adding Buttons and Loops
Because I only filled 5 of the horizontal columns, I have 3 empty columns to expand the blanket as my child grows (because these are a lot of work and expensive to buy!) I added loops and buttons to secure the top of the blanket neatly in the meantime.
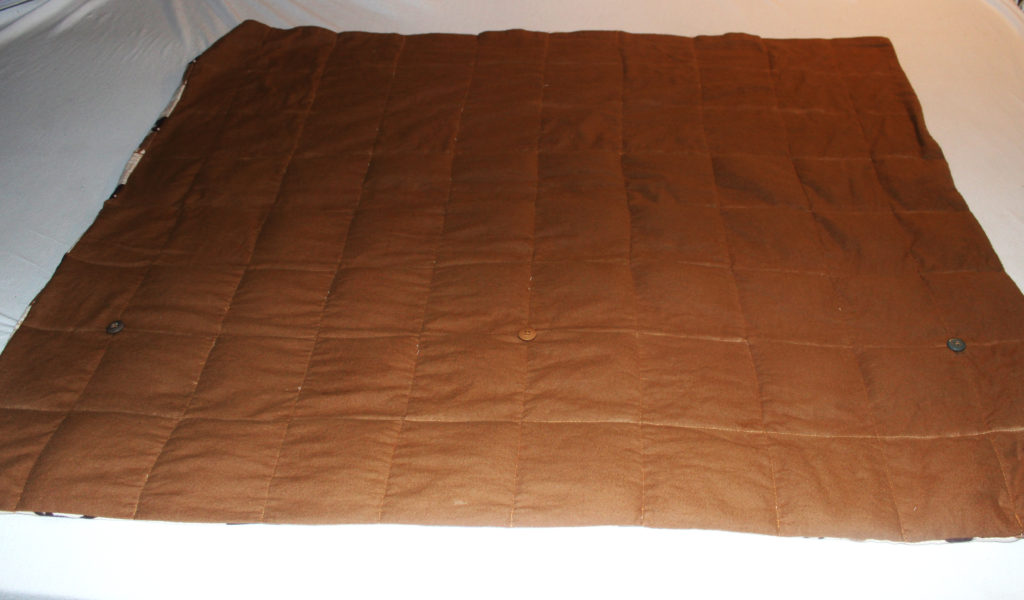
I attached three buttons by hand on the second horizontal seam from the bottom of the blanket (one directly in the center and the other two on the first square in from each side of the blanket.)
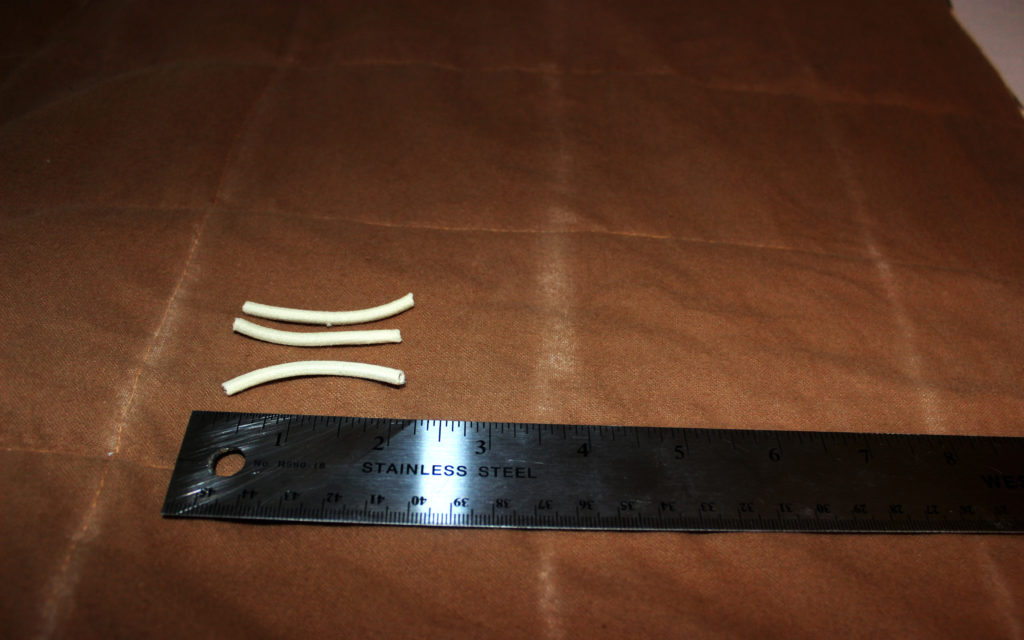
Cut 3 pieces of 2 mm round elastic cord (2 in each).
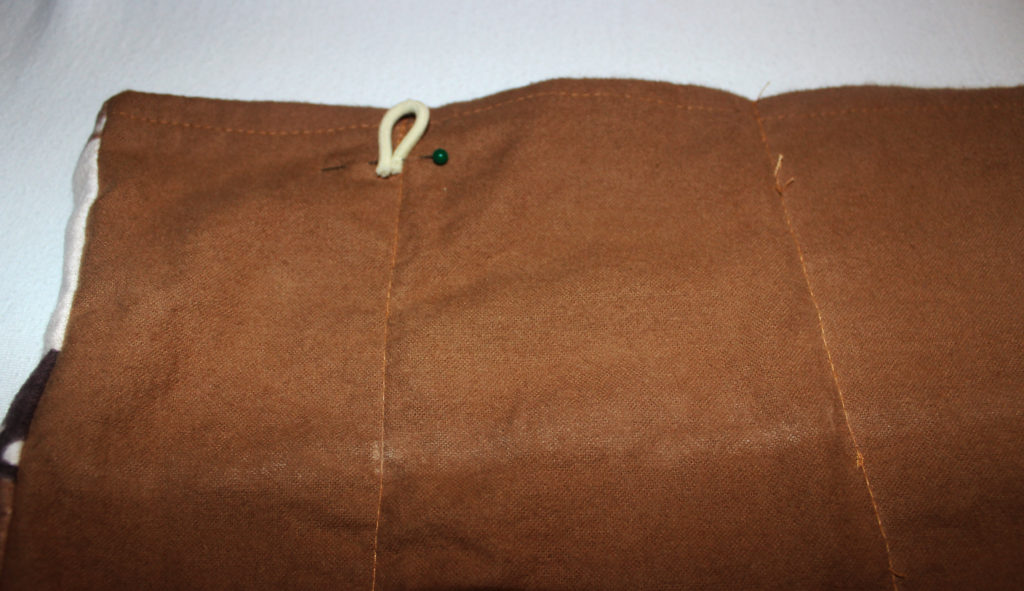
Loop and pin so the top of the loop is just under the top of the blanket. The three loops should coordinate with the buttons (one directly in the center and the other two on the first square in from each side of the blanket.)
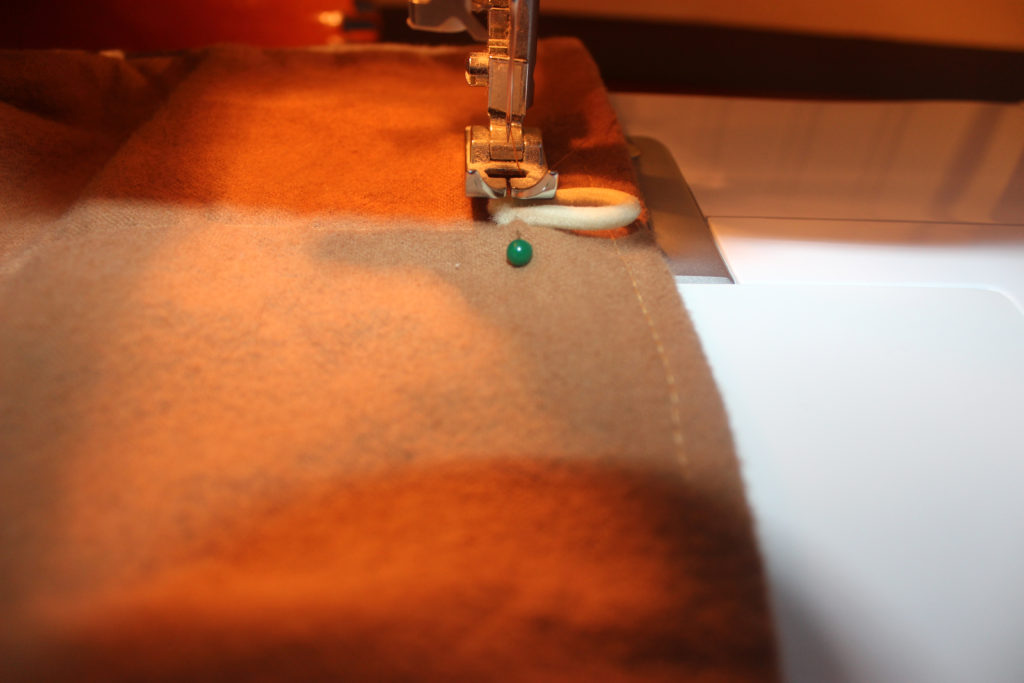
Sew the loops in place.
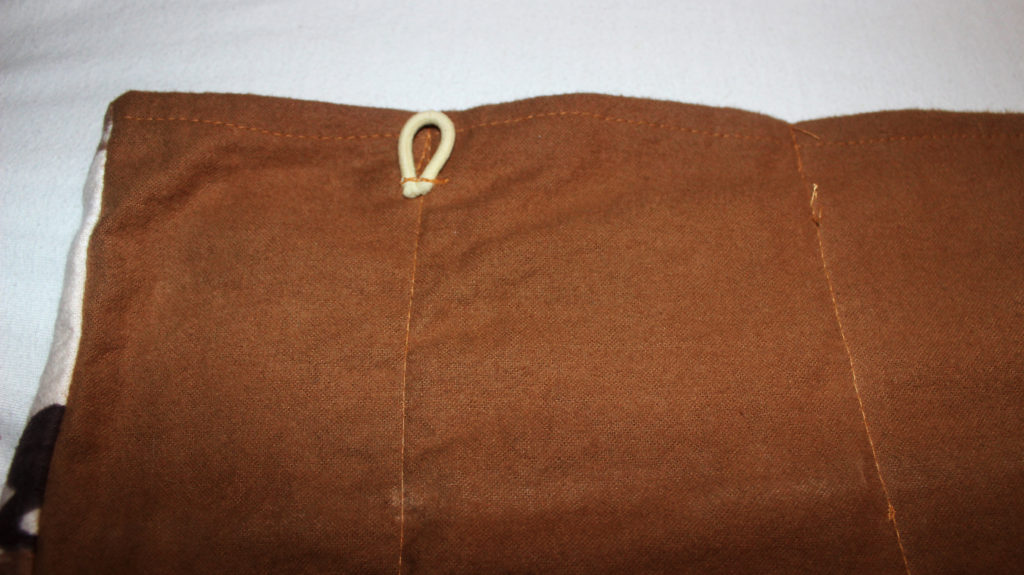

Fold the blanket over and secure each loop around each button.
![]()
Readers Who Liked This, Also Liked:
Have you ever gone to the library and been greatly disappointed in the content of a children’s book when you got it home?
What about the lack of selection of books containing lessons of virtue, hope, and courage to do the right thing?
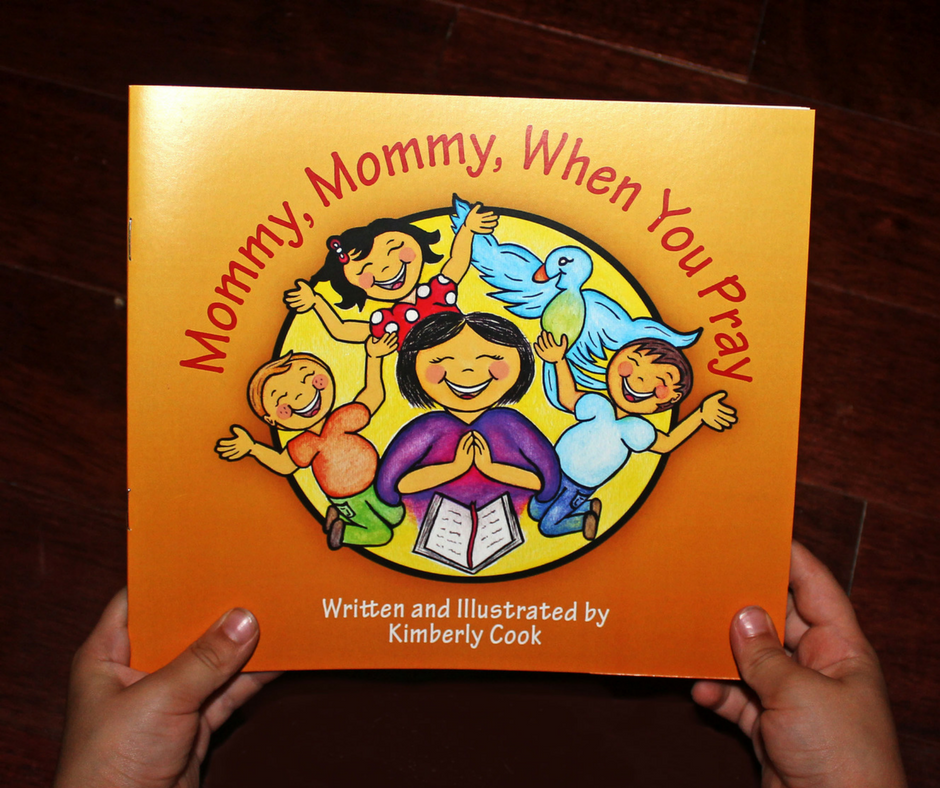
I encountered this frustration as a mom of little ones, and I desperately wanted to find something that could answer my son’s earliest questions on prayer. How was he supposed to begin communication with this infinite God who lived in the heavens somewhere? How could I communicate to him, first and foremost, the personal joy in this relationship? How could I present God as the One who makes our very heart celebrate in thanksgiving? I needed a way to bridge the gap in his little mind, between a big God, and a stirring and beautiful friendship; present even in the smallest calling.
Kimberly Cook
Writer, Podcaster, Mother, & Catholic Apologist. Meet Kimberly